
HOW TO MAKE PAWNS FOR YOUR HORSE IN 6 STEPS
- Pınar Horse Safari

- Jan 9, 2023
- 3 min read
Do you want your horse to have a beautiful mane in competition? By following this tutorial, you will know how to steer your horse . After reading this little article of 6 simple steps , you will know how to make pawns for your horse .
To get started, you'll need to gather a few tools:
Mane brush
Pull comb
Wire cut into 12-16 inch lengths; 10 to 15 pieces
Hair
clips Water spray or braiding spray
Scissors
Stool
Coarse wire needle (metal is best)
Apron or tool belt
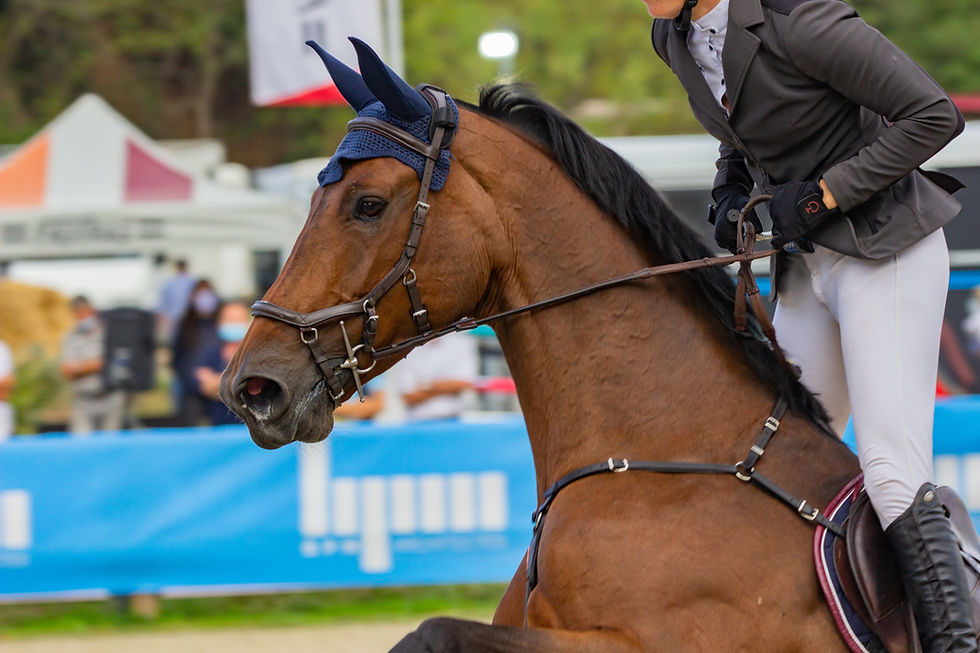
Step 1 :Use your pull comb to measure the width of your braids and trim the excess hair to the side. You can start at the withers or probing; generally, for horses that aren't used to being braided or are a bit shy, I start at the withers and work up to probing. I reduce the width of my braids at the ends (at the withers and the hair) to give the illusion of a round neck, so that the biggest braids are in the middle of the neck, but the braids at the ends should not be smaller than the width of the ¾ reed. For thin manes, I might do a 1.5 comb width in the middle, with a comb width at the ends. I find this method is also useful for braids at the base of the neck, where the rider's hands touch. Since braids are a bit smaller and tighter, they tend to stay in place better and get less fuzzy over the weekend.
Step 2: Wet the mane with the spray of your choice and braid the hairs, placing the half-folded yarn into your braid ½ or ¾ of the way down. For a thicker mane, it will be necessary to add the wire at the latest to ½ in order to have a good anchorage for the thickness of the mane. Braid it as low as possible and tie the braid with the thread using a knot. You can continue doing this process for the entire mane . I complete the whole process in groups of 3-5 braids at a time, so I'm going up and down the stool as infrequently as possible. By braiding 30 horsepower per night, you learn tricks to save time and avoid fatigue!
Step 3: This is where things start to get serious. Start by trimming the ends of all yarn tails so they are even and easy to thread onto the needle.
Step 4: Once the yarn is threaded onto the needle, push the needle through the mane of the neck and pull the yarn to the other side. Do not pull the tail of the braid through.
Step 5: Fold the braid in half by taking the bottom of the already folded braid and bringing it up to the neck under the braid, this creates the button. Holding the button against the neck, wrap the back yarn around the outside of the braid and sew the bottom of the button, pull it all the way to the back and repeat on the opposite side. The hairs are then laid next to the braid for a very clean and tidy look. If you want softer, scallop-like braids, you can just sew in the opposite direction of the button and not go around the sides.
Step 6: Once you have secured your button by sewing it 2-3 times on each side, remove the needle from the thread and tie the ends of the thread so that they are not too tight around the button at the base of the neck. You can do this 2 or 3 times. You will see the hairs lie down even more with a very clean and tight look. Finally, cut the tails of the knot, being careful not to cut the knot itself, otherwise you will start the braid again. I know from experience...
You have it ! Stay tuned for forelock braids, running buttons, dressing knots and dutch fluff!
Did you check Campervan Turkey?


Komentar